In this chapter you'll learn how Django administers users, groups and permissions. You'll learn how to conditionally display content depending on a user, how to restrict urls and class-based views, as well as how to manage CRUD (Create-Read-Update-Delete) permissions for Django model records based on user permissions.
In addition, you'll also learn how to customize Django's built-in user model to support additional data fields, as well as how to automate user management tasks like sign up, password reminders and password reset emails. Finally, you'll learn how to create custom authentication back-ends to validate user credentials with different technologies, including allowing users to access a Django application with a Facebook, Google or Twitter account.
Introduction to the Django user system
The Django user system is based
on the django.contrib.auth package built-in to the
Django framework. In this section you'll learn about the core
concepts offered by this package, which is the default user system
used by a variety of Django apps including the Django admin.
User types, sub-types, groups and permissions
There are two main types of
Django user classes: User and
AnonymousUser. If a user authenticates himself (i.e.
provides a valid username/password) Django recognizes him as a
User. On the other hand, if a user just surfs an
application without any authentication, Django recognizes him as an
AnonymousUser.
Any User can be
further classified into one of various sub-types:
- superuser.- The most powerful user with permissions to create, read, update and delete data in the Django admin, which includes model records and other users.
- staff.- A user marked as staff can access the Django admin. But permissions to create, read, update and delete data in the Django admin must be given explicitly to a user. By default, a superuser is marked as staff.
- active.- All users are marked as active if they're in good standing. Users marked as inactive aren't able to authenticate themselves, a common state if there's a pending post-registration step (e.g. confirm email) or a user is banned and you don't want to delete his data.
Django also offers the concept of
a Group class to grant a set of users the same set of
permissions without having to assign them individually. For
example, you can grant permissions to a group and then assign users
to the group to make permission management easier. In this manner,
you can revoke or add permissions in a single step to a set of
users, as well as quickly give new users the same permissions.
In addition, you can assign
Django permissions granularly to a User or
Group in order for them to do
CRUD(Create-Update-Delete) records on Django models, a process
which is done through Permission model records. Or you can also
assign coarser grained Django permissions on url/view methods or
template content to grant access to a User,
Group or even Permission assignee.
Now that you know the basic concepts behind Django's user system, let's explore the more common operations associated with Django users in greater detail.
Create users
The first user you'll want to create is a superuser. If you already set up the Django admin in chapter 1, then you'll already have a project superuser. Either way, I'll recap the process here since you can have any number of superusers. Listing 10-1 illustrates the various ways in which you can create a superuser.
Tip Consult the book's accompanying source code to run the exercises, in order to reduce typing and automatically access test data.
Listing 10-1 Create Django superuser
[user@coffeehouse ~]$ python manage.py createsuperuser
Username (leave blank to use 'admin'):
Email address: admin@coffeehouse.com
Password:
Password (again):
Superuser created successfully.

[user@coffeehouse ~]$ python manage.py createsuperuser --username=bigboss
                      --email=bigboss@coffeehouse.com
Password:
Password (again):
Superuser created successfully.

[user@coffeehouse ~]$ python manage.py shell
Python 2.7.3 (default, Apr 10 2013, 06:20:15)
[GCC 4.6.3] on linux2
Type "help", "copyright", "credits" or "license" for more information.
(InteractiveConsole)
>>> from django.contrib.auth.models import User
>>> user = User.objects.create_superuser(username='angelinvestor',
                                 email='angelinvestor@coffeehouse.com',
                                 password='seedfunding')
Note A Django username must be unique, pre-existing usernames are rejected
As you can see in listing 10-1,
you can create a superuser with the createsuperuser
command in the manage.py utility, where you're asked
for a username, email and password. And you can also create a
superuser with the same createsuperuser command using
in-line arguments --username and --email,
in which case you're only prompted for a password.
In addition, it's also possible
to create a superuser through the Django shell using the
User model class with the
create_superuser() method. Notice how the
create_superuser() method requires the same username,
email and password arguments.
When you create a superuser in any of these ways, the user is also automatically set as a staff member and marked as active, so you don't need to take any additional steps to access the Django admin -- which requires staff member permissions -- or proceed with authentication, which requires a user to be marked as active.
Sometimes you just want to create
a regular user, in which case you can use Django's shell utility
and create a user directly through the User model.
This process is illustrated in listing 10-2.
Listing 10-2. Create regular Django user through shell
[user@coffeehouse ~]$ python manage.py shell
Python 2.7.3 (default, Apr 10 2013, 06:20:15)
[GCC 4.6.3] on linux2
Type "help", "copyright", "credits" or "license" for more information.
(InteractiveConsole)
>>> from django.contrib.auth.models import User
>>> user = User.objects.create_user(username='downtownbarista',
                                 email='downtownbarista@coffeehouse.com',
                                 password='cappuccino')
>>> user.is_staff
False
>>> user.is_active
True
>>> user.is_superuser
False
As you can see in listing 10-2,
after you gain access to the Django shell you import the
User model class and invoke the
create_user() method with the username, email and
password arguments. The result of the create_user()
method contains the newly created user.
To confirm the
create_user() method generates a regular user, you can
see in listing 10-2 a call to the various User model
attributes, confirming the user is neither staff or superuser and
is just marked as active.
Finally, it's also possible to create users through the Django admin. To do this you'll first need to make sure you have superuser access to the Django admin. Once you access the Django admin, you'll see a screen like the one Figure 10-1, click on the 'Users' link. The 'Users' link takes you to a screen like the one in Figure 10-2, click on the button 'Add User+' in the top right. The 'Add User+' button takes you to a screen like the one in Figure 10-3 where you can introduce the credentials for a new user.
If you wish to change the sub-type (i.e. superuser, staff) of a user created in this manner, you can also do it in the Django admin, a process that's described in the next section.
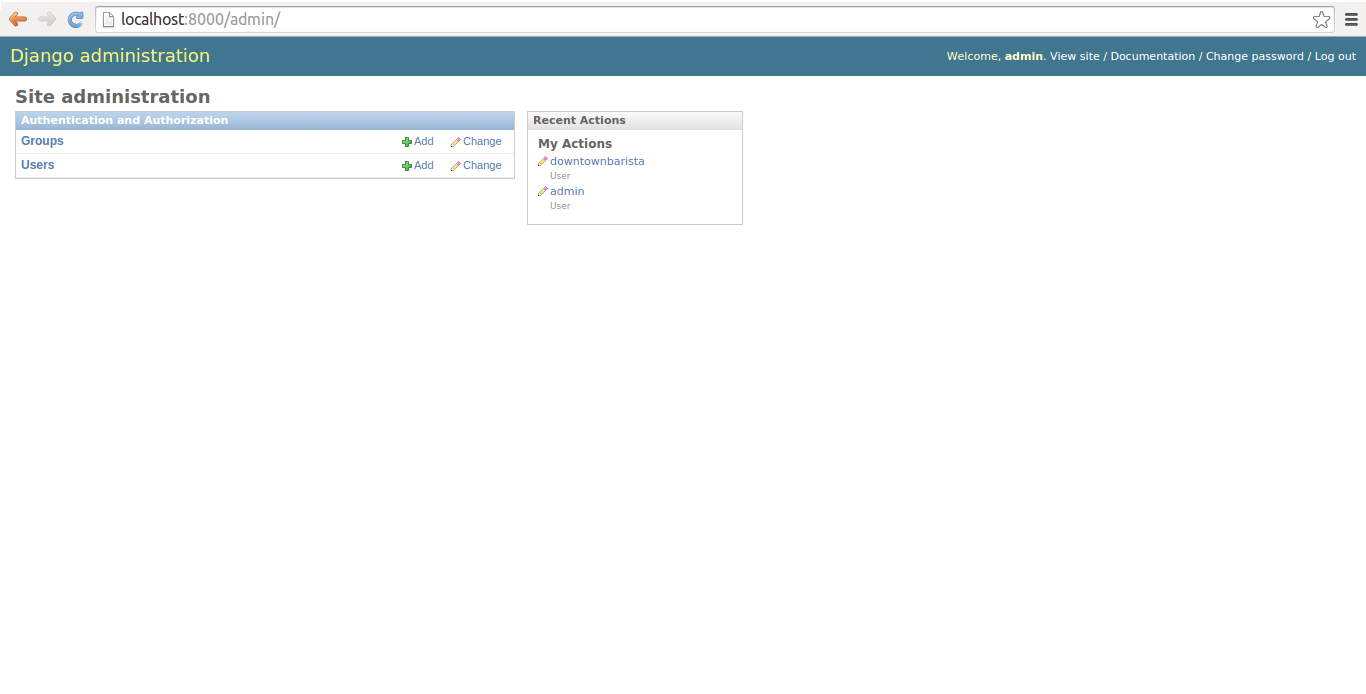
Figure 10-1. Django admin site home page
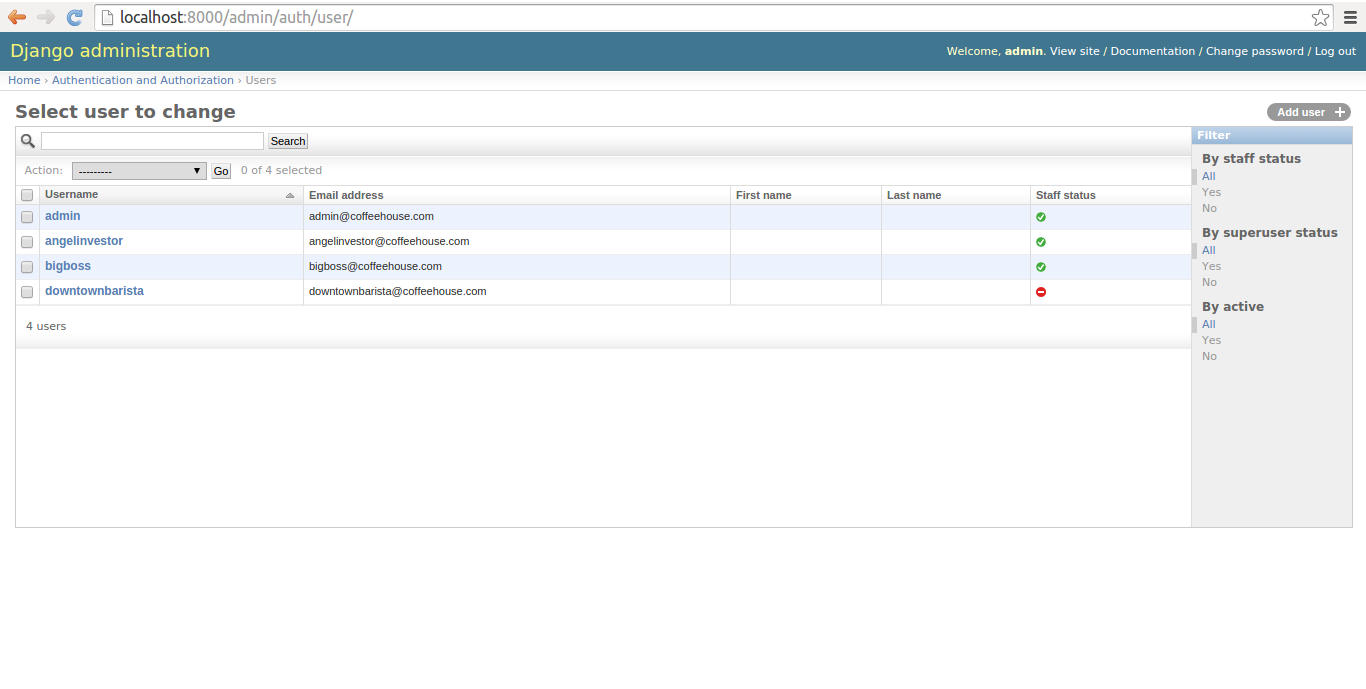
Figure 10-2. Django admin Users list
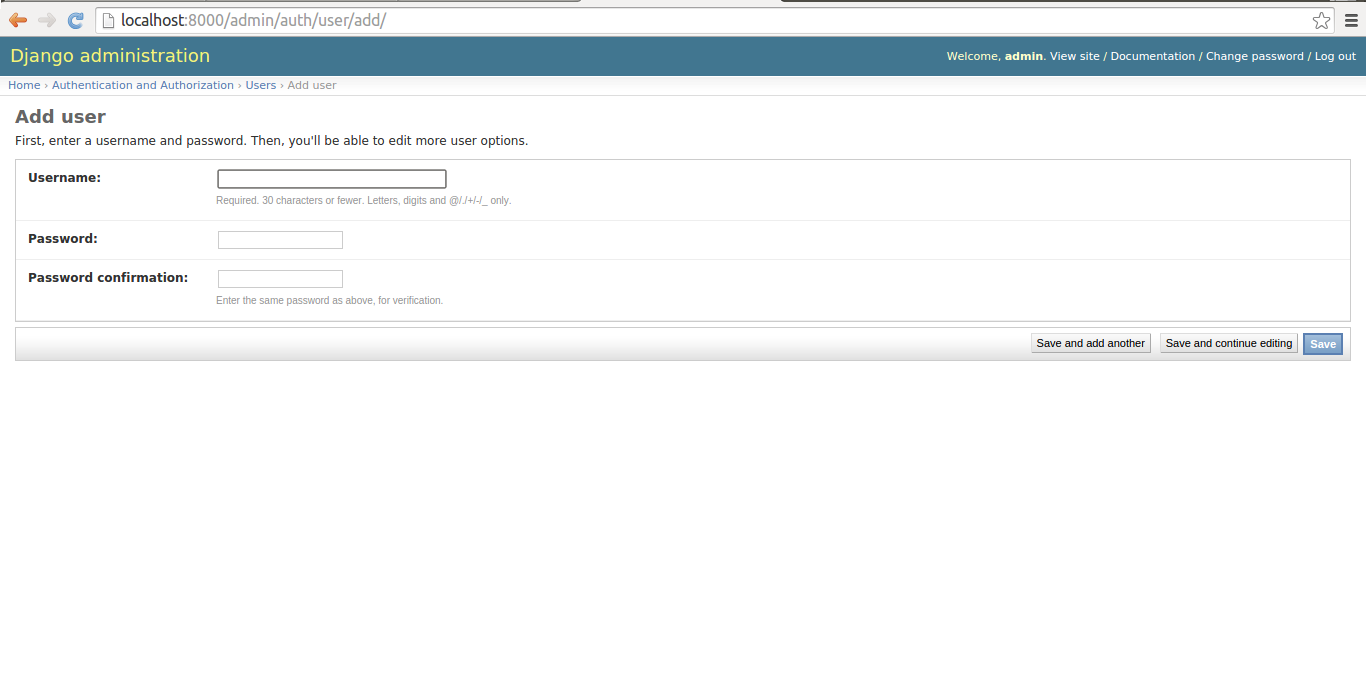
Figure 10-3. Django admin to create new user
Manage users
Once a user is in a Django
application, you'll end up managing him. This management can be
either revoking his privileges, adding to his privileges or even
editing his profile information. You can manage Django users in two
ways, in the Django admin or by manipulating a User
model in the Django shell or directly in your application.
The easiest way to manage users is directly in the Django admin. Once you access the Django admin you'll see a screen like the one in figure 10-1, if you click on the 'Users' link you'll be taken to a screen like the one in figure 10-2 which contains a list of Django users. Each Django user presented in figure 10-2 has his username as a link, if you click on this link you'll be taken to the user's page which is illustrated in figures 10-4, 10-5 & 10-6 where you can edit a user's profile.
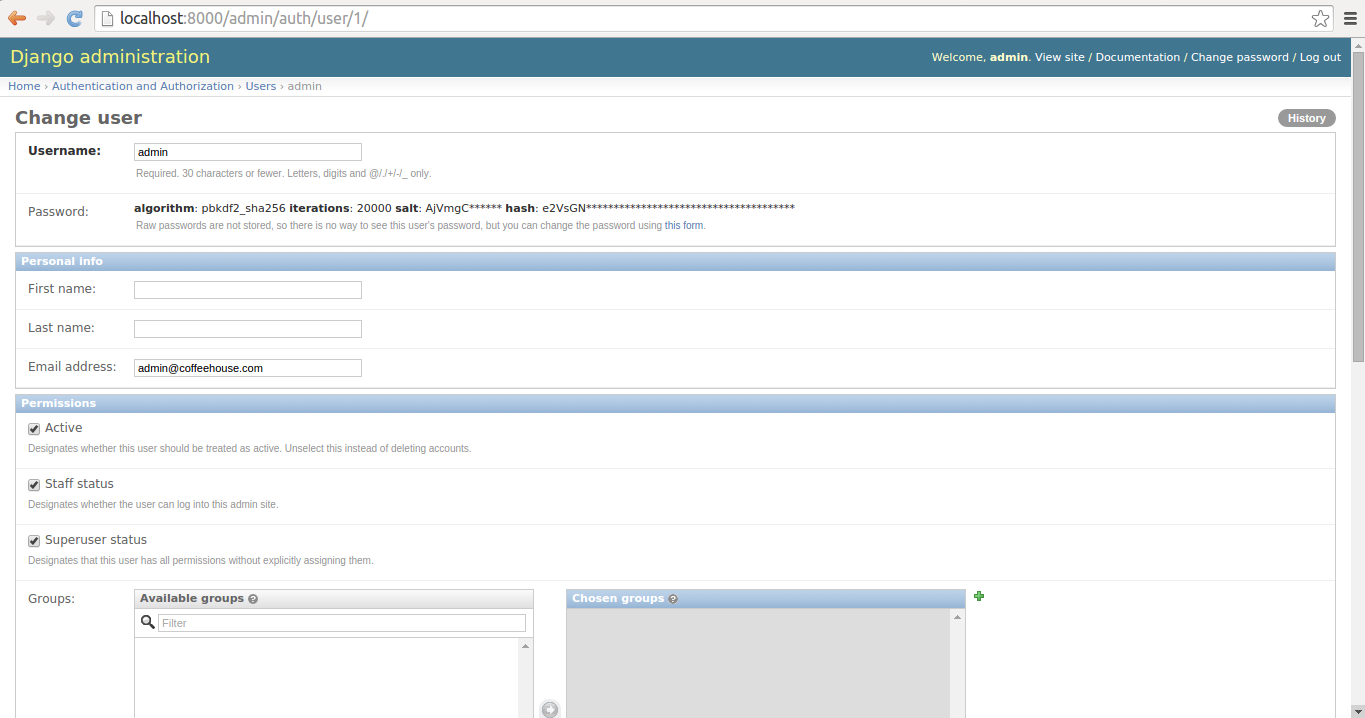
Figure 10-4. Django admin change user page - Part 1

Figure 10-5. Django admin change user page - Part 2
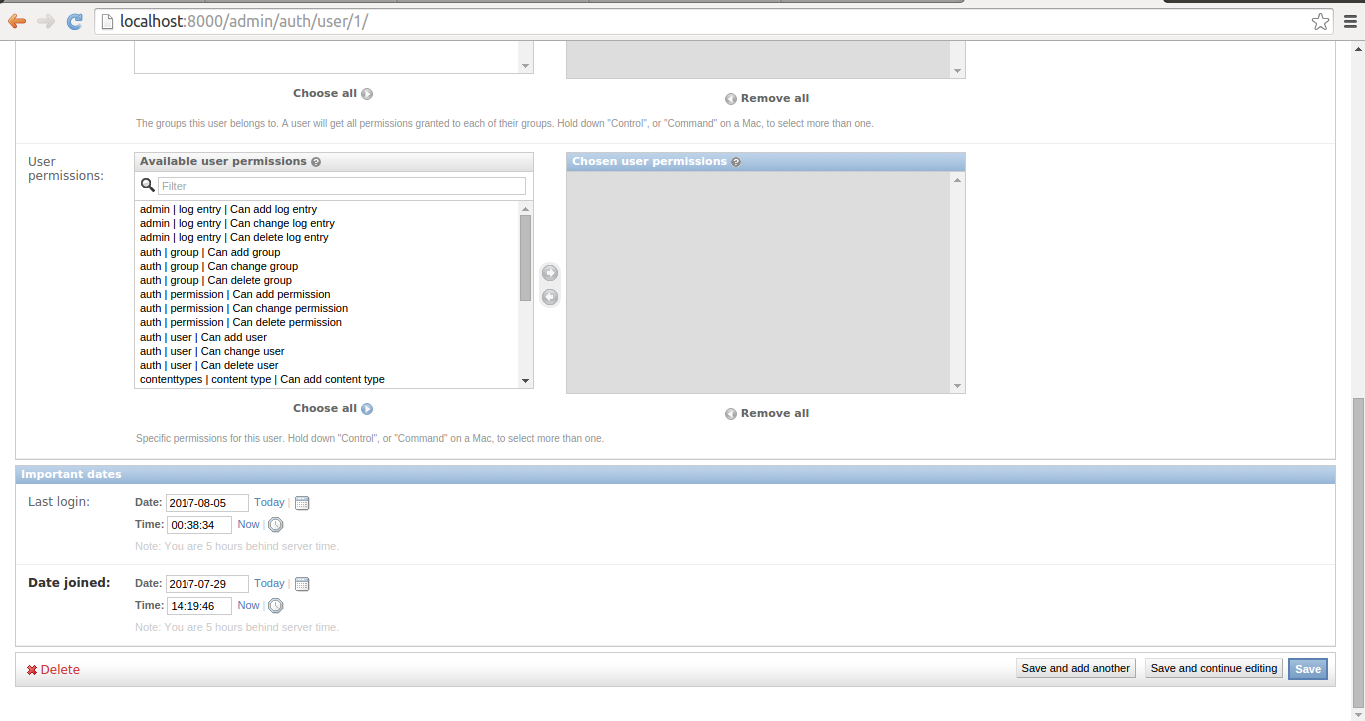
Figure 10-6. Django admin change user page - Part 3
The first part of a user's profile you can edit is illustrated in figure 10-4. Here you can edit his username, his password -- by clicking on the 'small form' link at the end of the small text -- his first name, his last name, as well as his email. In addition, you can see there are three check-boxes where it's possible to change a user's active, staff and superuser status.
If you scroll down, you'll see the second part of a user's profile you can edit which is illustrated in figure 10-5. Here you can assign a user to different groups, as well as assign a user individual CRUD permissions over Django models. Here I would advise you to carefully evaluate the need to assign individual CRUD permissions to a user, a more flexible approach is to create groups and assign them CRUD permissions and then assign users to groups, this way the permissions become easier to track and reusable for other users.
If you scroll further down to the end, you'll see the third part of a user's profile you can edit which is illustrated in figure 10-6. Here you can view and update a user's last login, as well as the date a user was created. At the bottom right of the page, you can see the various save buttons to store any changes made to the page. And in addition, at the bottom left there's a 'Delete' button to remove a user completely, however, I would advise you to consider just unchecking a user's active status to restrict access. This last step is sufficient to block a user from accessing an application again and it keeps his other data untouched in case you want to undo the action.
Another option to modify a user's
profile is to directly manipulate his User model
record. As illustrated in listing 10-3, you first make a query for
the desired user and then modify the model attributes or execute
one of the User model helper methods.
Listing 10-3. Manage Django user through shell
[user@coffeehouse ~]$ python manage.py shell
Python 2.7.3 (default, Apr 10 2013, 06:20:15)
[GCC 4.6.3] on linux2
Type "help", "copyright", "credits" or "license" for more information.
(InteractiveConsole)
>>> from django.contrib.auth.models import User
>>> user = User.objects.get(id=1)
>>> user.username = 'superadmin'
>>> user.save()
>>> userbig = User.objects.get(username='bigboss')
>>> userbig.is_superuser
True
>>> userbig.superuser = False
>>> userbig.first_name = 'Big'
>>> userbig.last_name = 'Boss'
>>> userbig.save()
>>> userbig.is_superuser
False
>>> userbig.get_full_name()
u'Big Boss'
>>> userbarista = User.objects.get(email='downtownbarista@coffeehouse.com')
>>> userbarista.email ='barista@coffeehouse.com'
>>> userbarista.save()
>>> userbarista.set_password('mynewpass')
>>> userbarista.check_password('oldpass')
False
>>> userbarista.check_password('mynewpass')
True
As you can see in listing 10-3,
you can modify the same User profile values as those
presented in the Django admin in figure 10-4, figure 10-5 & figure 10-6.
Just be aware that because you're making a query, any changes made
to model fields must be followed by a call to the save()
method on the reference for fields to be persisted. Table 10-1 and
table 10-2 contain a full list of fields and methods available on
the User model.
Table 10-1 Django django.contrib.auth.models.User fields
| Field | Description |
|---|---|
| username | (Required) 30 characters or fewer and can contain alphanumeric, _, @, +, . and - characters. |
| first_name | (Optional) 30 characters or fewer. |
| last_name | (Optional) 30 characters or fewer. |
| (Optional) Email address. | |
| password | (Required) A hash of, and metadata about, the password. Note that Django doesn't store the raw password. |
| groups | A many-to-many relationship to django.contrib.auth.models.Group |
| user_permissions | A many-to-many relationship to django.contrib.auth.Permission |
| is_staff (Boolean) | Designates whether a user can access the admin site. |
| is_active (Boolean) | Designates whether a user is considered active. |
| is_superuser | (Boolean) Designates whether a user has all permissions without explicitly assigning them. |
| last_login | A datetime of the user's last login, set to NULL if the user has never logged in |
| date_joined | A datetime designating when the account was created. Is set to the current date/time by default when the account is created. |
Table 10-2. Django django.contrib.auth.models.User methods
| Method | Description |
|---|---|
| get_username() | Returns the username for the user. Since the User model can be changed for another, this method is the recommended approach instead of referencing the username attribute directly. |
| is_anonymous() | For a User this method always returns False, it's only used as a way to differentiate between User and AnonymousUser. |
| is_authenticated() | For a User this method always returns True, it's only used to to find out whether the user has gone through the AuthenticationMiddleware (representing the currently logged-in user). |
| get_full_name() | Returns the first_name and the last_name fields, with a space in between. |
| get_short_name() | Returns the first_name. |
| set_password(raw_password) | Sets the user's password to the given raw string, taking care of the password hashing. Note that when the raw_password is None, the password is set to an unusable password, as if set_unusable_password() were used. |
| check_password(raw_password) | Returns True if the given raw string is the correct password for the user, talking care of the password hashing for making the comparison. |
| set_unusable_password() | Marks the user as having no password set. Note this isn't the same as having a blank string for a password. check_password() for this user will never return True. This is helpful if authentication takes place against an existing external source (e.g.LDAP directory). |
| has_usable_password() | Returns False if set_unusable_password() has been called for the user. |
| get_group_permissions(obj=None) | Returns a set of group permission strings for the user. If the obj is passed, only returns the group permissions for the specific object. |
| get_all_permissions(obj=None) | Returns a set of group and user permission strings for the user. If the obj is passed, only returns the group permissions for the specific object. |
| has_perm(perm, obj=None) | Returns True if the user has the specified permission, where perm is in the format <app label>.<permission codename>". Note if the user is inactive, this method always returns False. If the obj is passed, the check ocurrs on the specific object and not on the model. |
| has_perms(perm_list, obj=None) | Returns True if the user has each of the specified permissions, where each perm is in the format <app label>.<permission codename>". Note if the user is inactive, this method always returns False. If the obj is passed, the check ocurrs on the specific object and not on the model. |
| has_module_perms(package_name) | Returns True if the user has permissions in the given package (i.e. the Django app label). If the user is inactive, this method always returns False. |
| email_user(subject, message, from_email=None, **kwargs) | Sends an email to the user. If from_email is None, Django uses the DEFAULT_FROM_EMAIL in settings.py. Also note this method relies on Django's send_mail() method to which it passes the **kwargs argument. See the Django email shortcut methods for more details on the send_mail() method and **kwargs values |
Tip User model data is stored in the database table auth_user.
By default, Django enforces password follow certain rules, such as: not being similar to a username, containing a minimum amount of characters, avoiding common words and forcing passwords to consist of more than numbers. These password rules are defined in a project's settings.py file in the AUTH_PASSWORD_VALIDATORS variable, as follows:
AUTH_PASSWORD_VALIDATORS = [{
'NAME':
'django.contrib.auth.password_validation.UserAttributeSimilarityValidator',
},{
'NAME':
'django.contrib.auth.password_validation.MinimumLengthValidator',
},{
'NAME':
'django.contrib.auth.password_validation.CommonPasswordValidator',
},{
'NAME':
'django.contrib.auth.password_validation.NumericPasswordValidator',
},]
This list of validators can be edited to suit the needs of a project, by either removing certain rules or inclusively making them more strict with options[1]
Create and manage groups
Django groups can be created in the Django admin. With a superuser account access the Django admin and you'll see a screen like the one figure 10-1, click on the 'Groups' link. The 'Groups' link takes you to a screen like the one in figure 10-7, click on the button 'Add Group+' in the top right. The 'Add Group+' button takes you to a screen like the one in figure 10-8 where you can create a new group introducing its name.
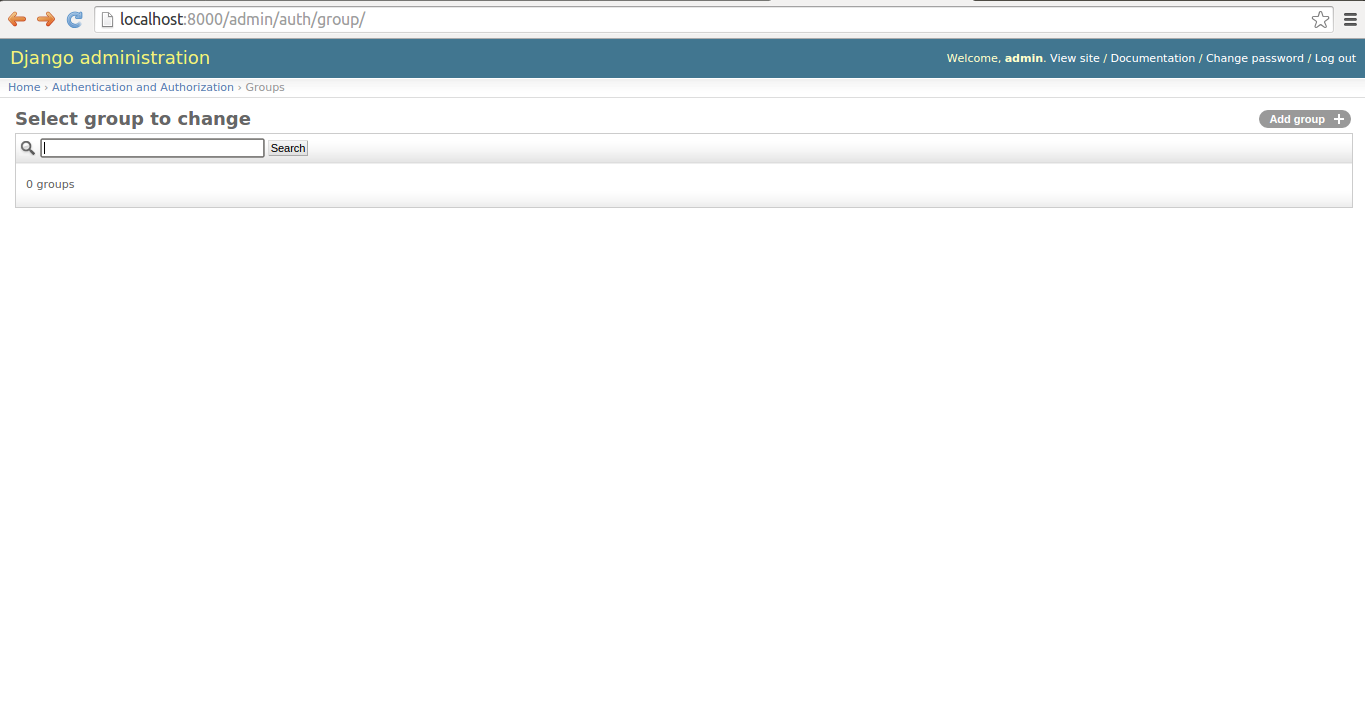
Figure 10-7. Django admin Groups list
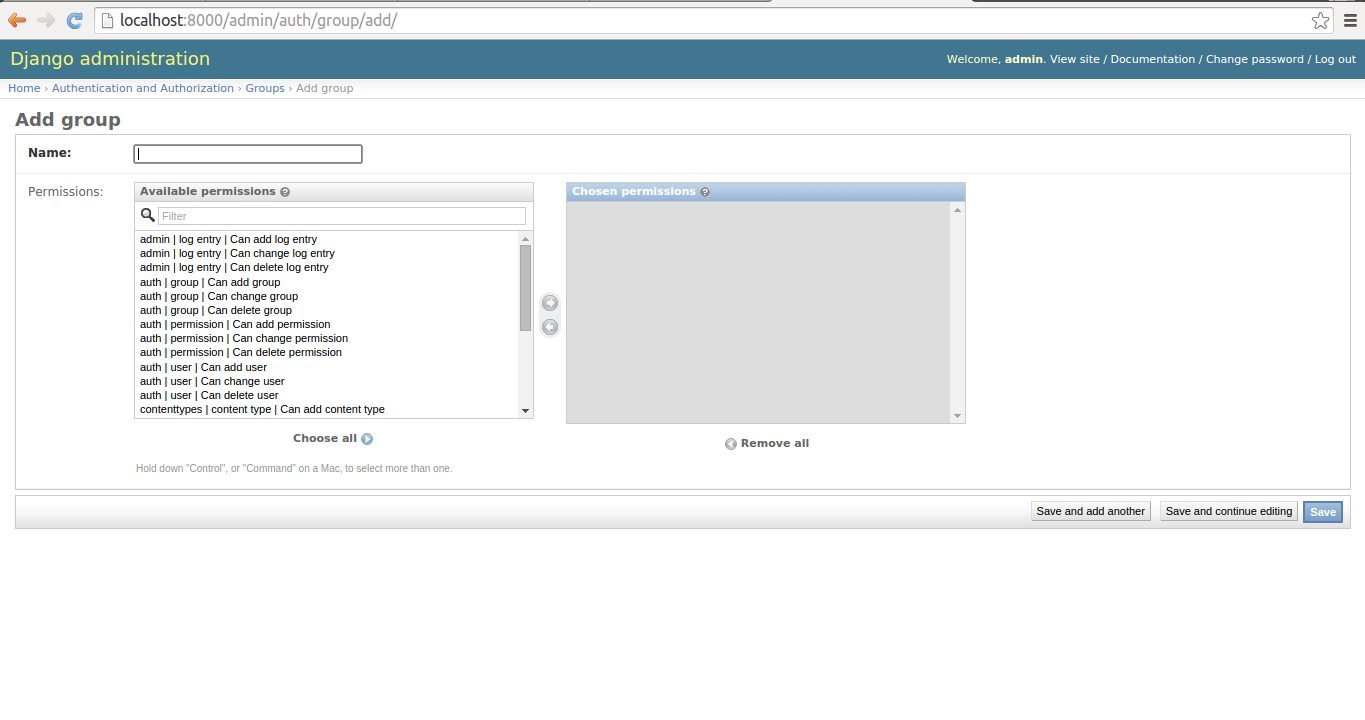
Figure 10-8. Django admin to create new group
As you can see in figure 10-8, all that's need to create a group is a name and you can optionally specify permissions given to the group to do CRUD operations on Django models in the application.
The management of groups is simpler than users and can also be completely done from the Django admin. What you'll end up doing most of the time is assigning users to groups.
To assign a user to a group, when you're editing a user you'll see a selection grid for just this purpose, which is illustrated in figure 10-5. To edit a group's properties -- name & Create-Delete-Update Django model permissions -- you can do so from the same page where you created it illustrated in figure 10-8. To delete a group from the Groups list illustrated in figure 10-7, you select the group you wish to delete and select the action from the drop-down list, as illustrated in figure 10-9.
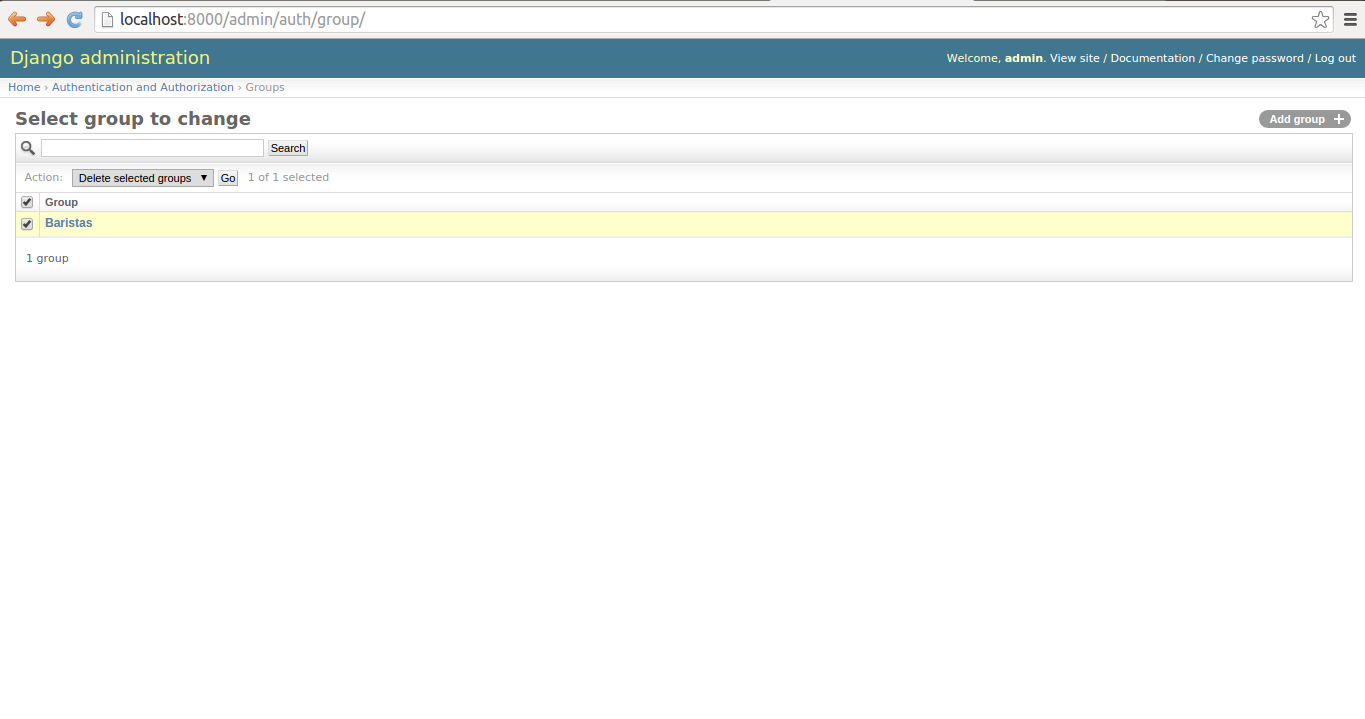
Figure 10-9. Django admin to delete group
Tip Group model data is stored in the database table auth_group. And User-Group relationships is stored in the database table auth_user_groups.